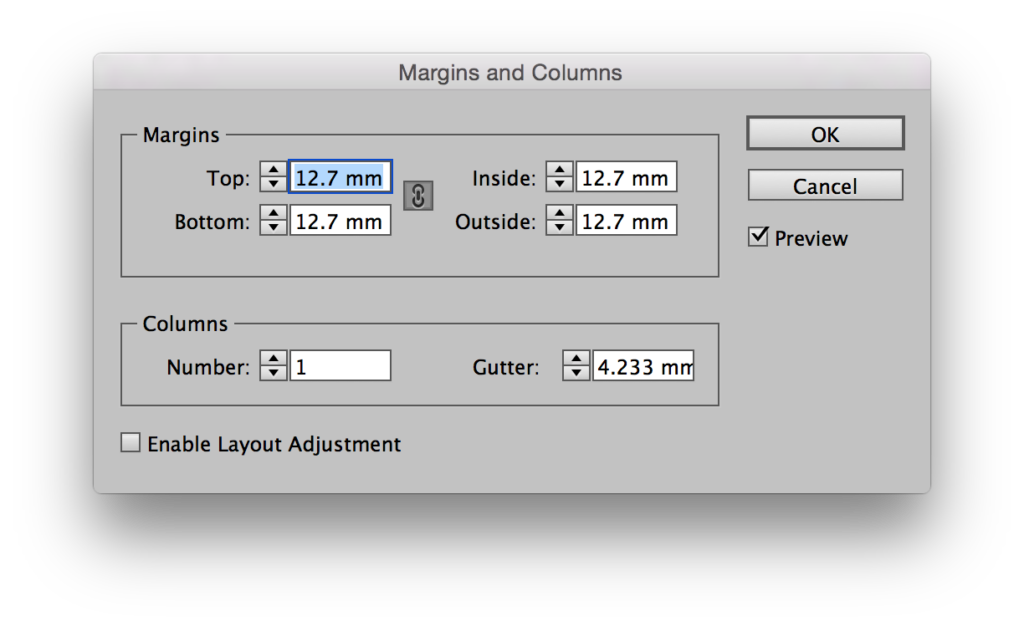
InDesign forces designers to set the page margins by number only. You have to open the Margins and Columns dialog, and type in the distance of the margin from the top, left, bottom, and right of the page.
 This is a not a fun way of doing things, and has some serious drawbacks:
- It’s not visual! Perhaps I’m spoiled, but I prefer to do things visually these days!
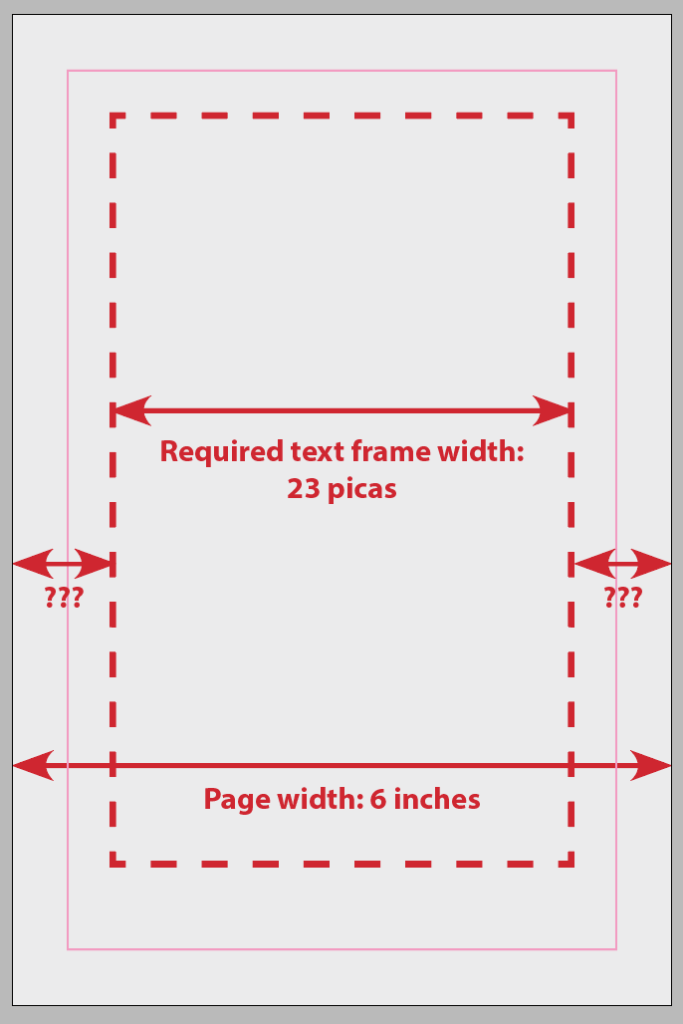
- Width: This process is the wrong way round. I will normally want to set the width of a text frame directly. In book design, for instance, the width of the text frame is especially important, because it dictates the basic length of a line of text, known as the “measure”. A book designer will usually specify exactly what measure is required, say 23.0 picas. Because InDesign forces us to specify the margins as the distance from the edge of the page, if we are targeting a specific width for the text frame, this means subtracting the specified measure from the page width (which may required converting units), dividing by 2, making any adjustments (in case the margins aren’t meant to be equal), and then tweaking as necessary. Not the end of the world, but an irritating way of working, nonetheless.
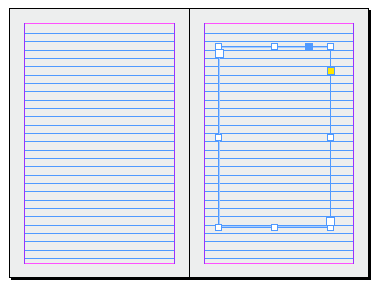
- Baseline grid: If you’re using a baseline grid, it can get really complicated to calculate the dimension of the bottom and top margins such that the text frame height will be an integer multiple of the baseline for the text! (This is important if you want graphics to easily line up to the baseline of the last line of text on a page. And if your document has footnotes, it is essential, otherwise the bottom of the footnotes will not align with the last line of text on a facing page!)
Wouldn’t it be great if this could all be done visually!!
Well, now it can!
Snap Margins to Text Frame is a simple InDesign script (that works also with the latest Creative Cloud version) that fixes this problem.
To use:
(1) Draw a text frame. If the document is set up with facing pages, make sure to draw the frame on the first page, or on any right-hand page (but not on a left-hand page).
(2) Select the frame you have drawn.
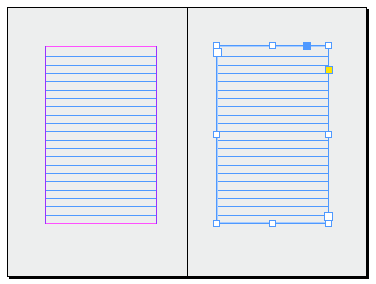
Snap Margins to Text Frame will modify the margins of all pages in the document, including the master pages, so that they’re flush with the selected text frame.
For facing-page documents, mirror margins are created.
This solves all three problems described above with a single script:
- You can now visually adjust the document margins without resorting to awkward calculations.
- It is easy to draw or adjust a text frame to an exact dimension. If you need 23 picas, set the width of the frame to 23 picas, and run the script!
- To solve the baseline problem, make sure that “Snap to Guides” is enabled (it is by default). This setting is found under View > Grids and Guides > Snap to Guides. With this setting enabled, and the baseline visible, you can drag the bottom edge of the text frame until it snaps to whichever baseline you choose!
Modify an existing document:
It is also possible to modify the margins of a document and have all text frames on all pages adjust along with the margins. Just make sure to enable InDesign’s “Layout Adjustment” feature before running the script. (The “Layout Adjustment” checkbox can be found at the bottom of the Margins and Columns window – see screenshot at the top of this page.)
So if, for instance, you decide that you want to modify the outside margin, and also lift the entire text block of the book throughout (i.e. increase the bottom margin and decrease the top margin), and do this all visually, and ensure that all text frames in the already-laid-out book adjust accordingly, enable Layout Adjustment, and run Snap Margins to Text Frame.
And the best part of it is that this script is free!
I hope you find it useful!
To download the script, please fill in your name and email below and it will be sent to you automatically. By doing so you also agree to receive occasional emails from Id-Extras.com with interesting InDesign tips and tricks, news, and free scripts.
The script works on Windows and Mac, and with all versions of InDesign from CS6 up to the latest Creative Cloud version, but probably works with earlier versions as well.


Igor Freiberger
November 20, 2016 5:57 pmGreat! Thank you very much for this excellent script.
sinan
November 25, 2017 12:43 amthank you so much, great job!
Mohammad Hasanain
June 2, 2021 10:26 amWow, Great Job!
Santosh
October 22, 2021 9:32 amThanks a lot, this was great help
Yaneris
June 13, 2023 6:33 amThank you. Excellent script
Maria
July 5, 2023 8:50 pmThank you!
Ramos
August 29, 2023 6:59 amGracias..¡